What is long exposure photography and why I do long exposure photography?
By definition, any photograph made with a shutter speed of 1 second or longer could be considered long exposure photography. This varies from one photographer to the next. Some consider 0.25 sec long, some 0.5. Ultra long exposure photography, although there is no clear definition, is a long enough exposure which smooths out the movements. In my experience, anything longer than 30 seconds is considered ultra long exposure. Never the less, This yields a photo that records the passage of time in one single frame. the resultant photograph can only have an impact if the subject has an element of stillness and movements. For a long exposure photograph to be successful, it needs to have mainly two elements:
- a subject that is static, such as rocks, or trees
- an element of constant movement such as water, clouds, people, etc.
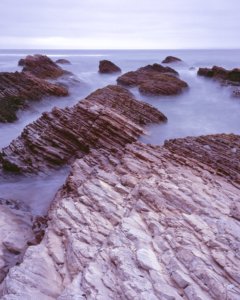
Standard Exposure
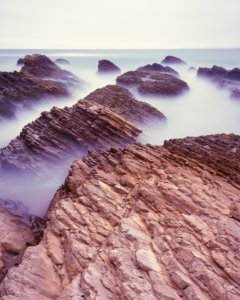
Long Exposure
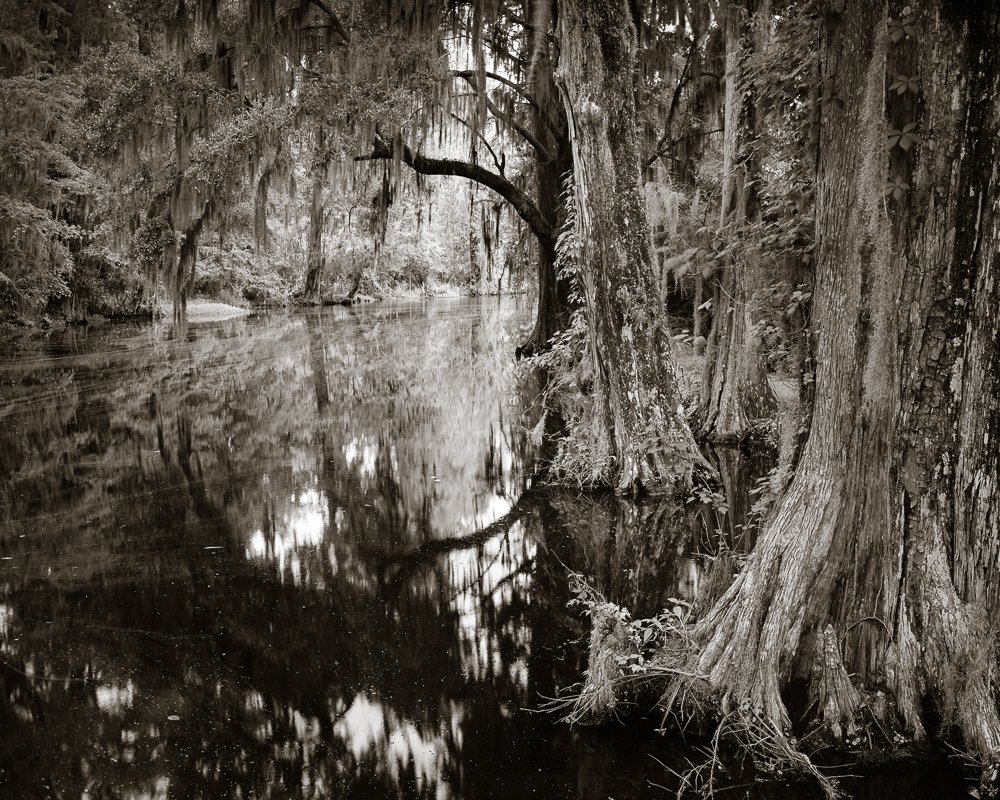
Long exposure photography can turn a very chaotic subject such as the sea with harsh waves into a minimalistic, serene, dream-like scene that has mystery, that you normally can not see under normal circumstances. It is an abstract world that you can only create with your camera.
Long exposure photography with a large format camera is more challenging than with a digital camera, which is the reason why I like it. The calculation for a correct exposure for various films changes based on the respective reciprocity failures. The development of black and white film also is different for each film and also changes with long exposure.
The best time to photograph in my experience is overcast days, as the exposure is uniform due to the diffused lighting, there are no harsh lights and shadows, which can adversely affect the exposure and development of the film. Dark shadows on a sunny day, despite metering correctly, will yield a very dark, almost complete black shadows without any details due to effects of long exposure and tricky development. For the same reason, the highlights can often become over-exposed.

I typically carry a B+W 6 stop screw mount ND filter and a Lee 10 stop ND filter but I find that the 6 stop is what I utilize most often, As a 10 stop ND filter with the addition of reciprocity failure time can lead to very long exposure times which can increase the risk for failures. When it comes to black and white film, I often use Kodak Tmax 100 due to higher resistance to reciprocity failure than Ilford Delta 100. To put it into perspective, a 1-sec exposure for Kodak Tmax 100 with 6 stop ND filter yields a 1 minute and 30-second exposure, as opposed to 8 minutes and 14 seconds for Ilford Delta 100 in the same situation with the same 6 stop ND filter. As one can imagine, the Delta 100 exposures can easily add up in darker situations.

Black and White Long Exposure
I also use Fuji Velvia 100 on overcast days as it is very stable with long exposure. One must be cautious on sunny days as you can easily have over-exposed highlights with long exposure.
For the exposure calculation I use an app called Reciprocity Timer which simplifies the task. It has a database of popular films which allows the addition of different filters.
To meter the scene, I typically meter as I normally would, then plug time exposure time into reciprocity timer, add the 6 stop ND filter, and use the exposure time given by the app. I have found that the only time my exposure has not been accurate is on sunny days with harsh lighting.

As stated earlier, there are many challenges with long exposure photography with a large format camera. On a recent trip, I discovered that wind, despite having a sturdy tripod, can still create movement, not by shaking the camera, but the movement of the film inside the film holder through the opening of the dark slide. This creates a partially out of focus photograph. One half of the photo is in focus which isn’t objected tot he wind. the portion of the film that is adjacent to the dark slide opening, is subjected to movements, thus leading to a blurred foreground in a vertical orientation. The film can also shift creating an out of focus capture. As I thought about this further, I came up with two fixes. In order to prevent wind entering the film holder, one can place a piece of masking tape on the opening after removing the dark slide and prior to exposure, or one can make a custom dark slide, long enough to place in the opening just after removing the actual dark slide. To fix the shifting film, one can tap on the film holder a few times to assure it doesn’t move during exposure. Removing the film holder from the Ziplock bag also allows any shrinking and expansion of the film sot hat it doesn’t occur during exposure.
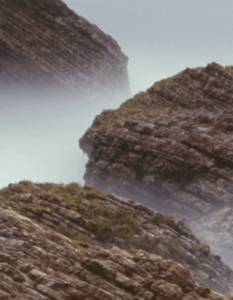
Focused Top Half
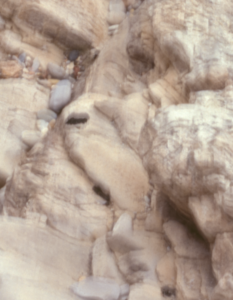
Out of Focus Foreground
As I continue to learn this process myself, the biggest advice I can offer is trial and error. I recommend experimentation with your favorite film, with only one filter, such as a 6 stop ND filter which results in long enough exposure to yield the desired effect without leading to very very long exposures. Develop a technique that is consistent.
Name: Gevork Mosesi
Location: San Diego, CA
I began my photographic journey in the mid 1990’s with the legendary Canon AE-1 which still works till this day. In 2011, I rekindled my love for analog photography, leaving digital photography. I have not looked back since. I primarily use a 4×5 large format camera to make my photographs. I also utilize a 6×17 panoramic camera in the right setting. This format allows for a slower workflow which makes me more aware of the landscape, giving me full control of the image making process, ultimately avoiding multiple unnecessary digital exposures. Most of my work is from the landscapes of the Southwest.
Gallery: Gevork Mosesi
Website: http://www.gmosesi.com/



0 Comments