Part II: Exposure compensation
Part 1 can be viewed here: Using calculators in large format photography
One of the many aspects which set large format photography apart from photography with modern digital cameras is that there is no CPU to which you can delegate such key tasks as focusing, exposure control, and others. Everything is fully manual here, which on one hand positively contributes to the experience of LF photography, but which nevertheless renders things a bit tricky. This is where little helpers in the form of calculators are coming in, and the one I´d like to present in this blog post is just amazingly simple and effective.

Figure 1: QuickDisc and the measuring strip. Figure courtesy Philipp Salzgeber.
Strictly speaking, handheld lightmeters provide the correct exposure data only for a camera focussed to infinity. As soon as the extension (i.e., the distance between lens and film plane) is increased in order to move the focus plane towards the camera and to increase the scale of reproduction, the fraction of the bundle of light falling through the lens which hits the film decreases – in other words: it gets darker at the film plane. This effect is negligible in the range from infinity to a scale of reproduction of maybe 1:10 or so, but after that – and certainly, in the range of what one usually would call closeup photography – it will cause underexposed slides or negatives if not being compensated for. If a small subject is photographed at half its size, about one full stop of correction is needed, while for a photograph at original size (i.e., at 1:1 scale) a correction of even two stops will be required. This is something users of small cameras with a built-in light meter don´t need to bother about, since modern cameras typically have TTL (through-the-lens) light meters which measure the incoming light at the focal plane, thereby automatically compensating for extension changes. However, whenever taking a close-up photograph with a large format camera is the plan, either the extension or, much easier, the scale of reproduction must be determined in order to determine the required exposure compensation.

Figure 2: Placing the QuickDisc within the subject. Figure courtesy Philipp Salzgeber.
It sounds difficult, but actually this goal couldn´t be any easier to achieve than by the use of a brilliant little tool called QuickDisc which was developed by astrophotographer Philipp Salzgeber from Austria (www.salzgeber.at). The large-format community owes Philipp a big thank you for not only creating this wonderful tool but also for generously making it available to anyone for free!

Figure 3: Reading the QuickDisc with the measuring strip on the ground glass. Here, the applied scale of reproduction requires the exposure time to be extended about 2.3-fold, or the aperture opened by about 1.2 stops. Figure courtesy Philipp Salzgeber.
The QuickDisc system consists of two parts: the disc proper and the measuring strip (Fig. 1). Here is how it works: The disc is placed next to the subject to be photographed so that it is located in, or very close to, the plane of focus (Fig. 2). Thereby an image of the disc is being projected to the ground glass, the size of which depends on the extension and, thus, on the scale of reproduction. The latter can now very easily be read with the help of the measuring strip directly on the ground glass, which then immediately provides the corresponding exposure correction (Fig. 3). For example, let´s assume that focussing the camera results in a scale of reproduction of 1:2. The disc´s image on the ground glass then will be 50% of the disc´s original size. Using the strip for measuring the size of the disc image will indicate that either the exposure time would need to be multiplied by a factor of 2.3, or the aperture is opened by 1.2 stops, in order to compensate for the extension. Voilá!

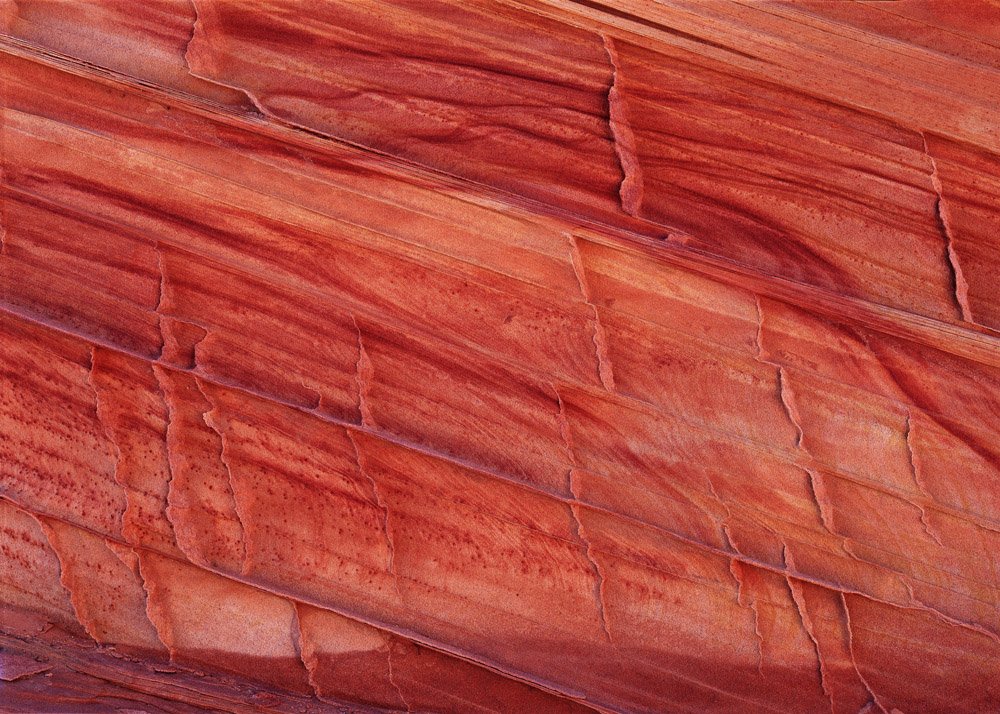
Figure 4: Crossing the Lines. Sandstone wall detail, AZ; exposure correction determined with the QuickDisc.
What looks a bit like magic at first actually is the result of a thoughtful translation of the laws of geometry into a real-world object. One of the elegant aspects of the QuickDisc is that absolutely no care needs to be invested into the disc´s orientation – actually it literally can be just thrown onto the subject and still provides perfect results, as long as it´s not too far away from the focal plane. In most cases, the disc won´t be perfectly parallel to the film plane so that its image won´t be a circle but an ellipse. No problem at all – simply measure the ellipse´s length, and you´re all set. Another nice aspect of all this magic is the independence of the camera´s format. Since this is all about relative and not absolute sizes (of the disc, the disc´s image on the ground glass, and the measuring strip in relation to each other), it works exactly the same way, without any further adaptations or corrections, regardless of whether you´re using the QuickDisc with a 6×9 camera, a 4×5, an 8×10, or whichever format you choose. For the same reason it also doesn´t matter whether the Disc is being printed at exactly 100% size, or smaller or bigger than that, as long as the QuickDisc and the measuring strip are printed on the same scale.

Figure 5: Shapes in Blue. Detail of a frozen lake in Yosemite NP, CA; exposure correction determined with the QuickDisc.
In order to include this excellent little helper in your kit, simply go to Philipp Salzgeber´s QuickDisc home page www.salzgeber.at/disc/index.html, download the manual, and the Disc, print out the Disc on a piece of thin white cardboard and cut out QuickDisc and measuring strip. I have laminated my copy, which renders this little gem not only free, lightweight, and very helpful, but even waterproof. What more could one ask for?

Figure 6: Granite and Aspen Leaves. Fall scenery in the Eastern Sierra, CA; exposure correction determined with the QuickDisc.

0 Comments